Breville Test Kitchen
Yogurt
The low and consistent heat makes the oven a perfect incubator for yogurt making. Whole milk will produce a thicker yogurt, using low fat milk will make the consistency thinner.
1 day total time
15 mins active time
Easy
Makes 4 lb
Ingredients
Measurements:
 2 quarts (64 fl oz) whole milk
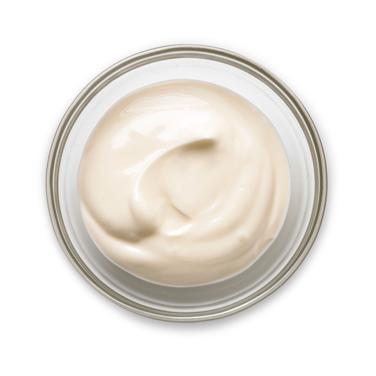 5 tbsp (1 oz) plain whole milk yogurt with live and active cultures
Instructions
- 1Insert the wire rack into position 8.
- 2Wash and rinse 4 x 16 oz glass jars and place them in the oven and start the timer to sterilize. Wash the lids in hot soapy water, rinse and dry. Once sterilized, leave the jars in the oven to keep warm.
- 3Meanwhile, place the milk in a pot over medium heat and slowly heat to 185°F, stirring occasionally. Maintain the milk for an additional 5 to 10 minutes at this temperature. Scalding the milk kills off any competing bacteria and also allows the proteins in the milk to bind resulting in a thicker yogurt. Using whole milk will produce a thicker result, while using reduced fat milk will produce a thinner result.
- 4Turn off the heat and cool the milk to the incubation temperature of 110°F, stirring occasionally to prevent a skin forming. If a skin forms use a strainer to remove.
- 5Whisk some of the milk with the yogurt starter and add it to the remaining milk in the saucepan. This warms up the starter and makes it easier to mix through the rest of the milk.
- 6Pour the milk mixture into the warm, sterilized jars and seal with the lids.
- 7Place the jars in the oven and start the timer. Leave undisturbed for 6 hours. Yogurt can be incubated for 4 to 10 hours. The longer it incubates the thicker and tangier it will be.
- 8Refrigerate for 8 hours to overnight to give it time to chill and further set before eating.
- 9Store in the refrigerator for up to 2 weeks. Yogurt will become tangier the longer it is stored. Tip: 2 tablespoons of the yogurt can be reserved and used as a starter to make the next batch within 7 to 10 days. You can make 4 to 6 batches before you’ll need to buy a new starter.
Similar Recipes
- Ovens & Air Fryers
Shatta Shrimp Skewers
- Ovens & Air Fryers
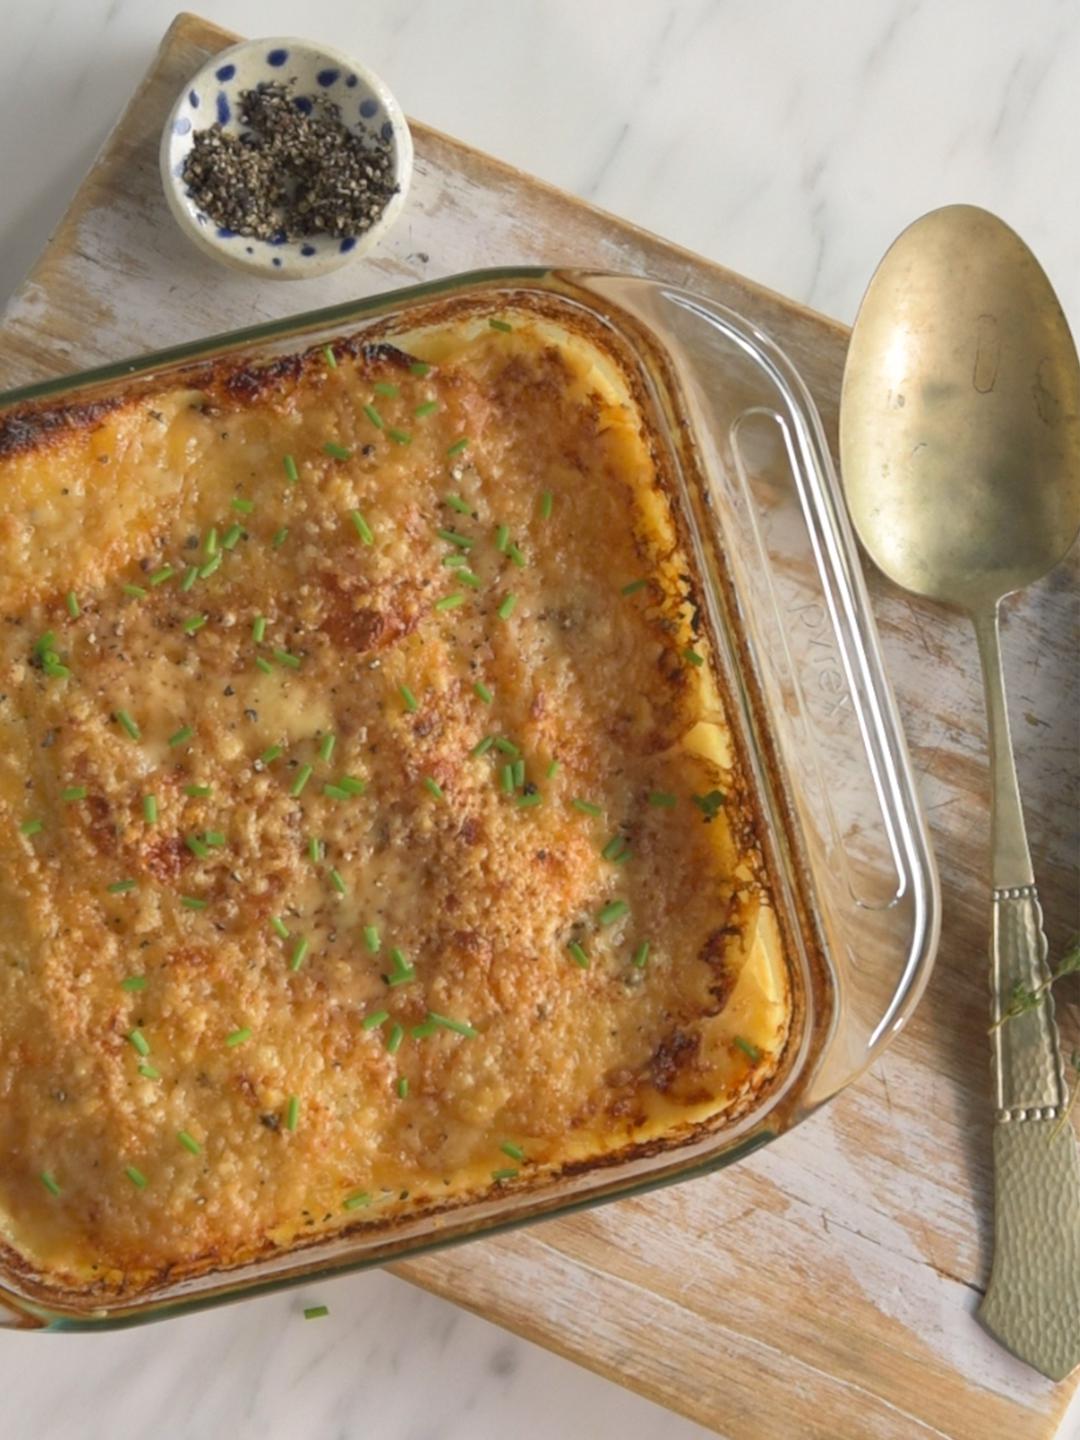
Potato Gratin
- Ovens & Air Fryers
BOV860 Recipe
- Ovens & Air Fryers
Baked Salmon with Thyme and Lemon
- Ovens & Air Fryers
Salami, Mozzarella and Olive Pizza
- Ovens & Air Fryers
Sweet Potato Wedges
- Ovens & Air Fryers
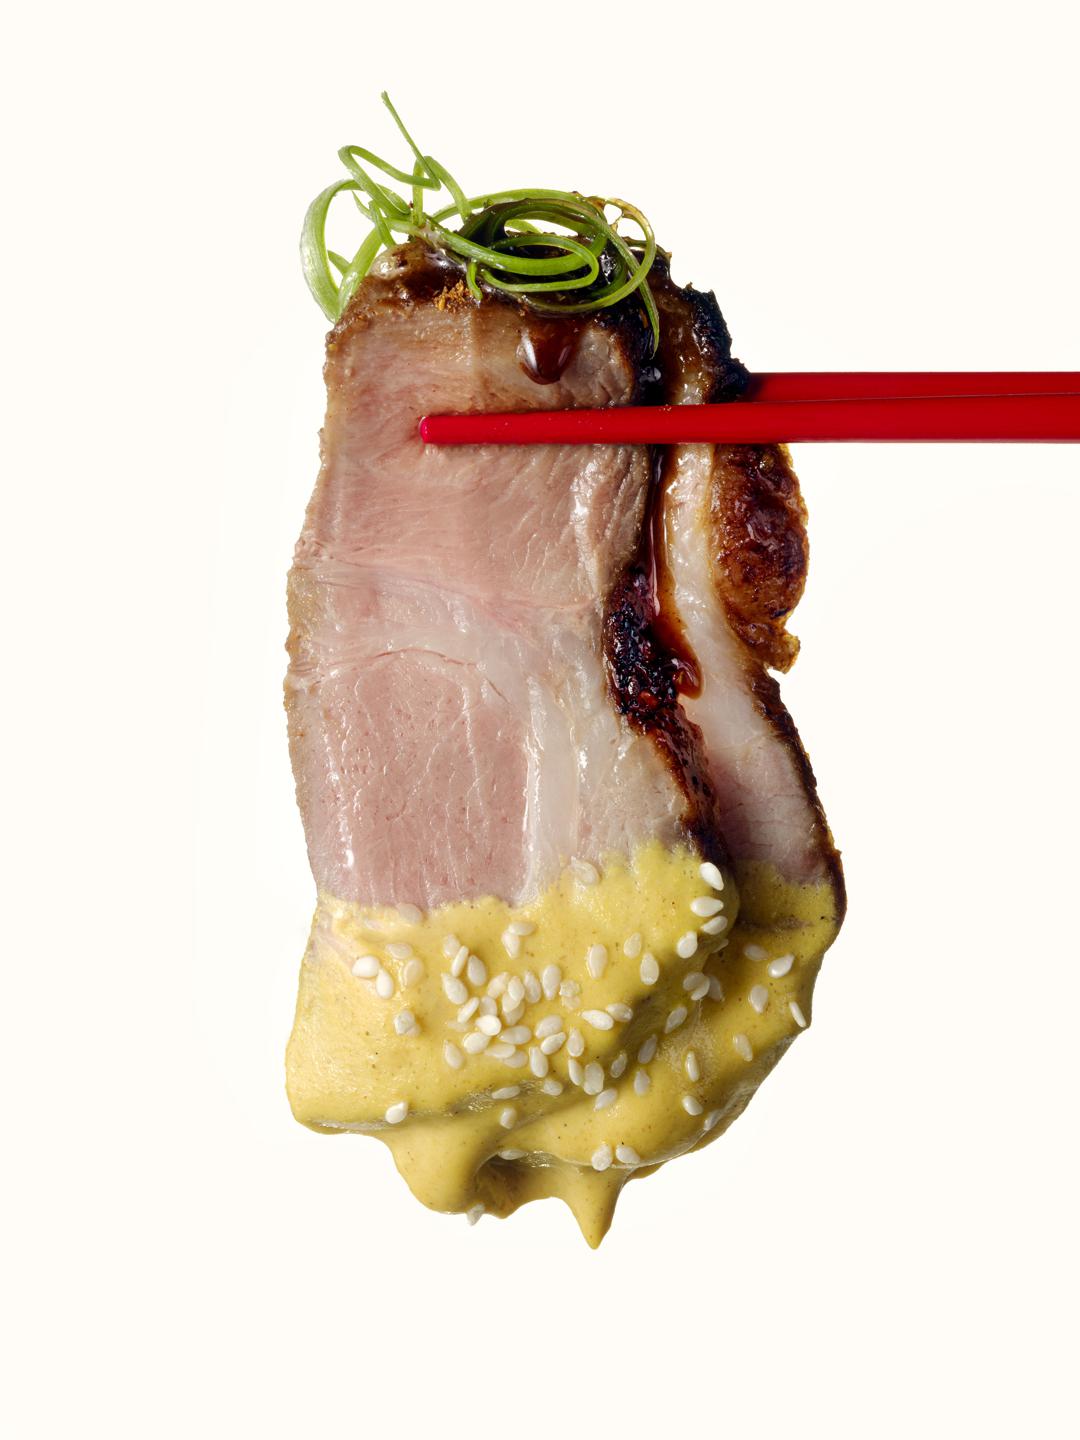
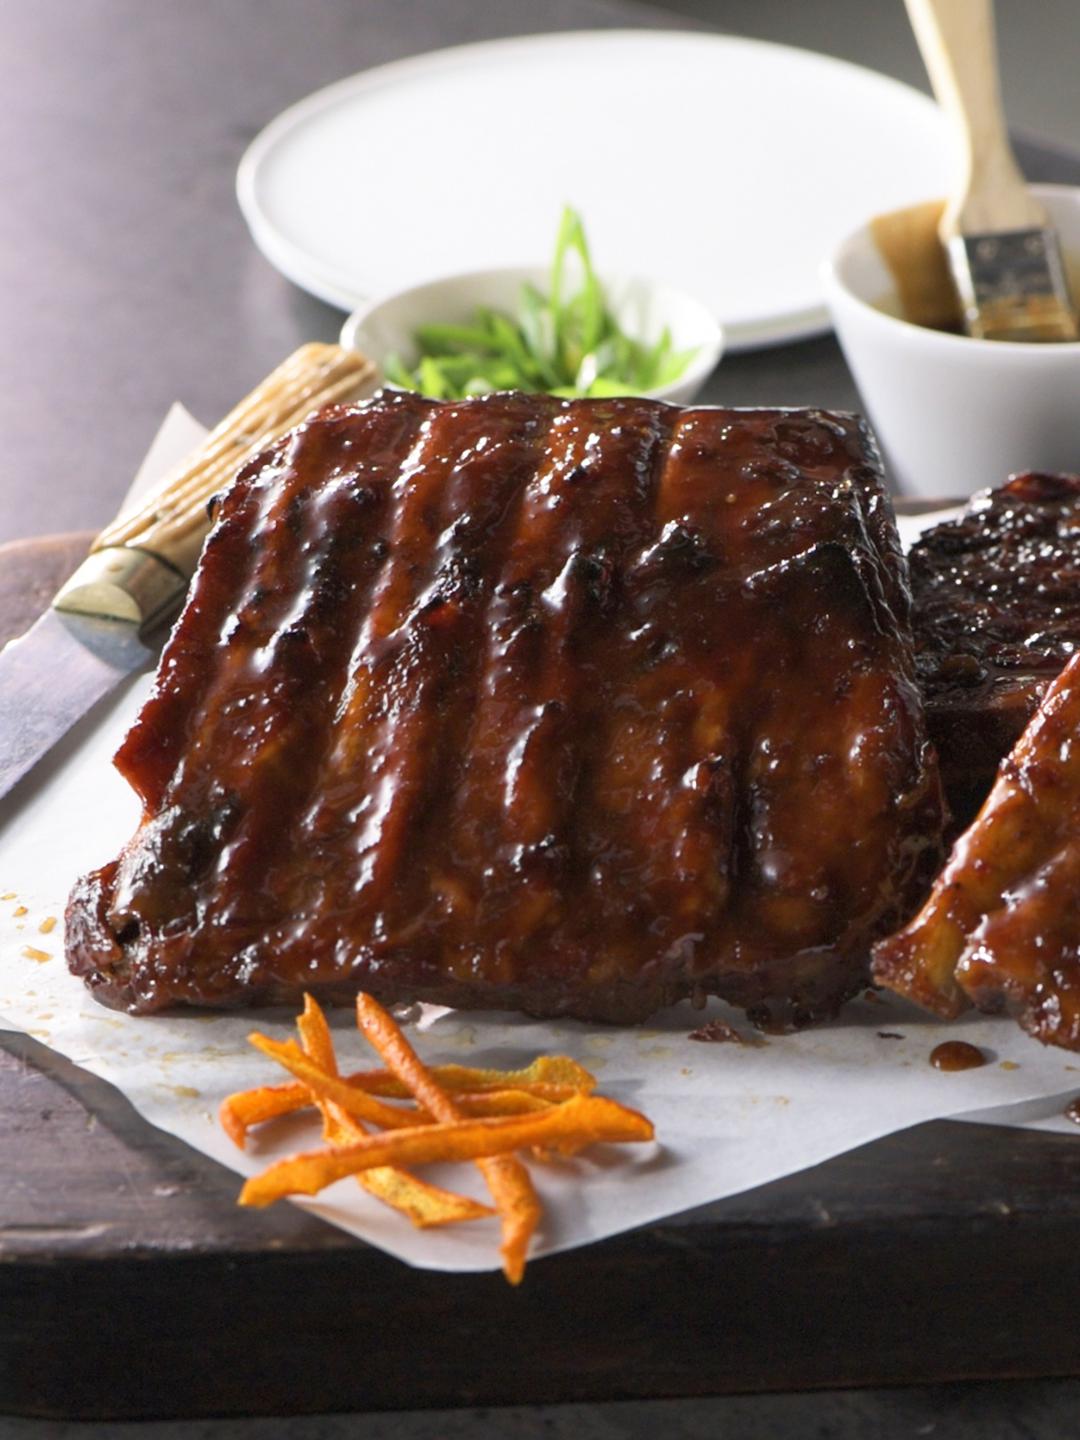
Char Siu Style Pork
- Ovens & Air Fryers
Check BOV950
- Ovens & Air Fryers
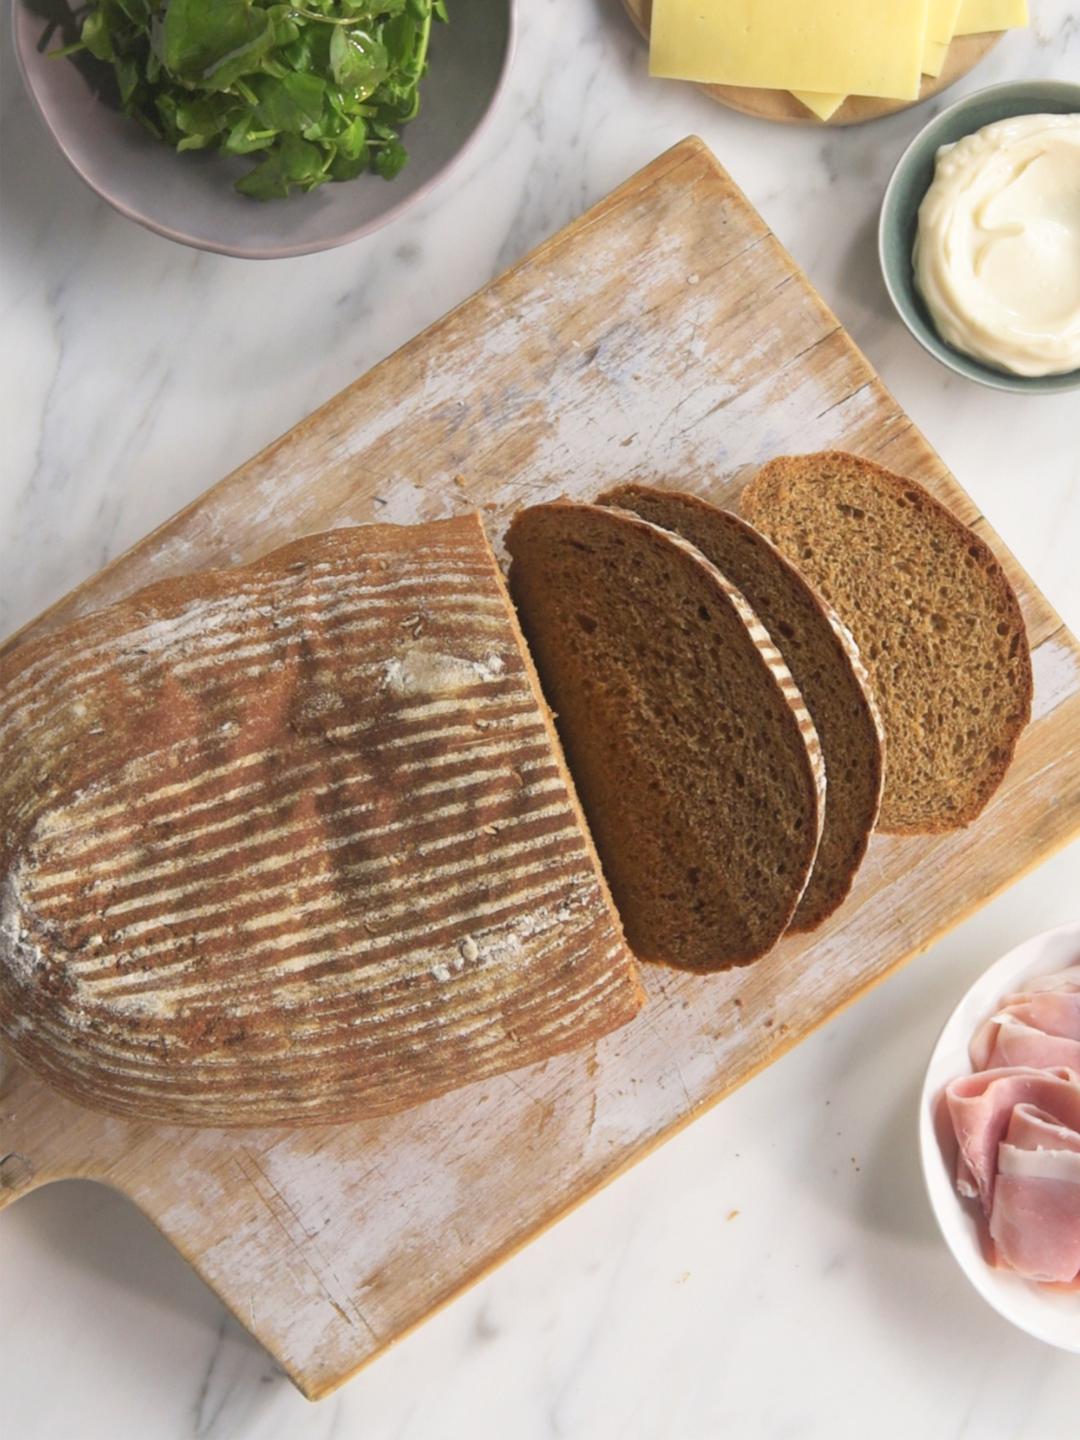
Rye and Caraway Bread
- Ovens & Air Fryers
Teriyaki Chicken
- Ovens & Air Fryers
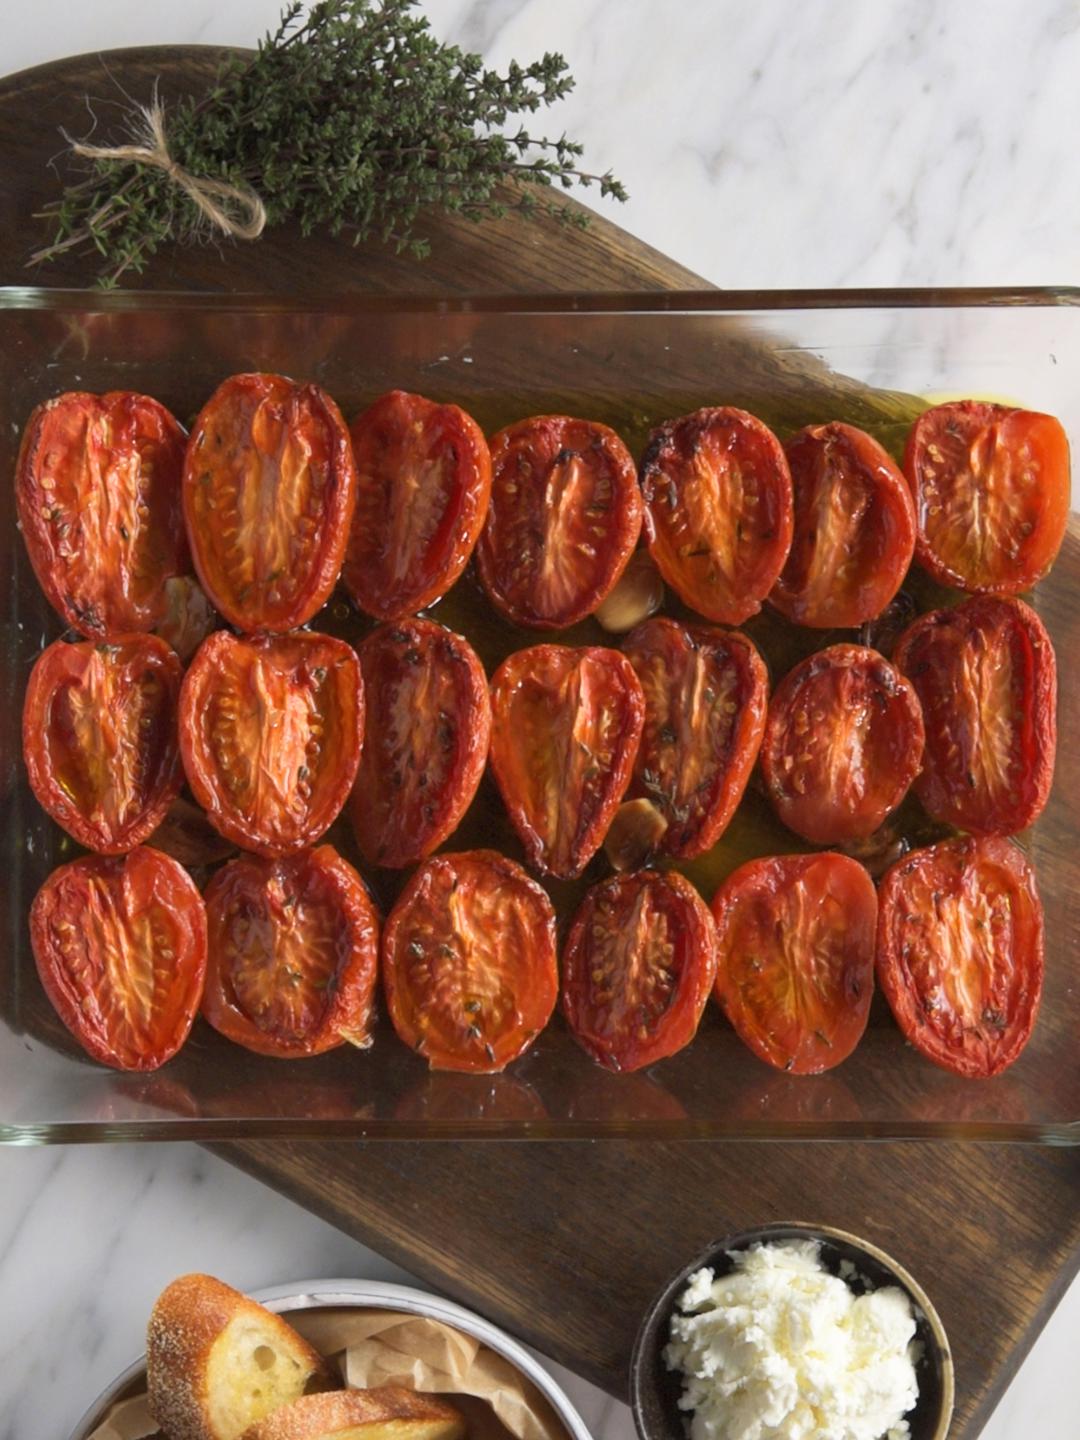
Slow Roasted Tomatoes
- Ovens & Air Fryers
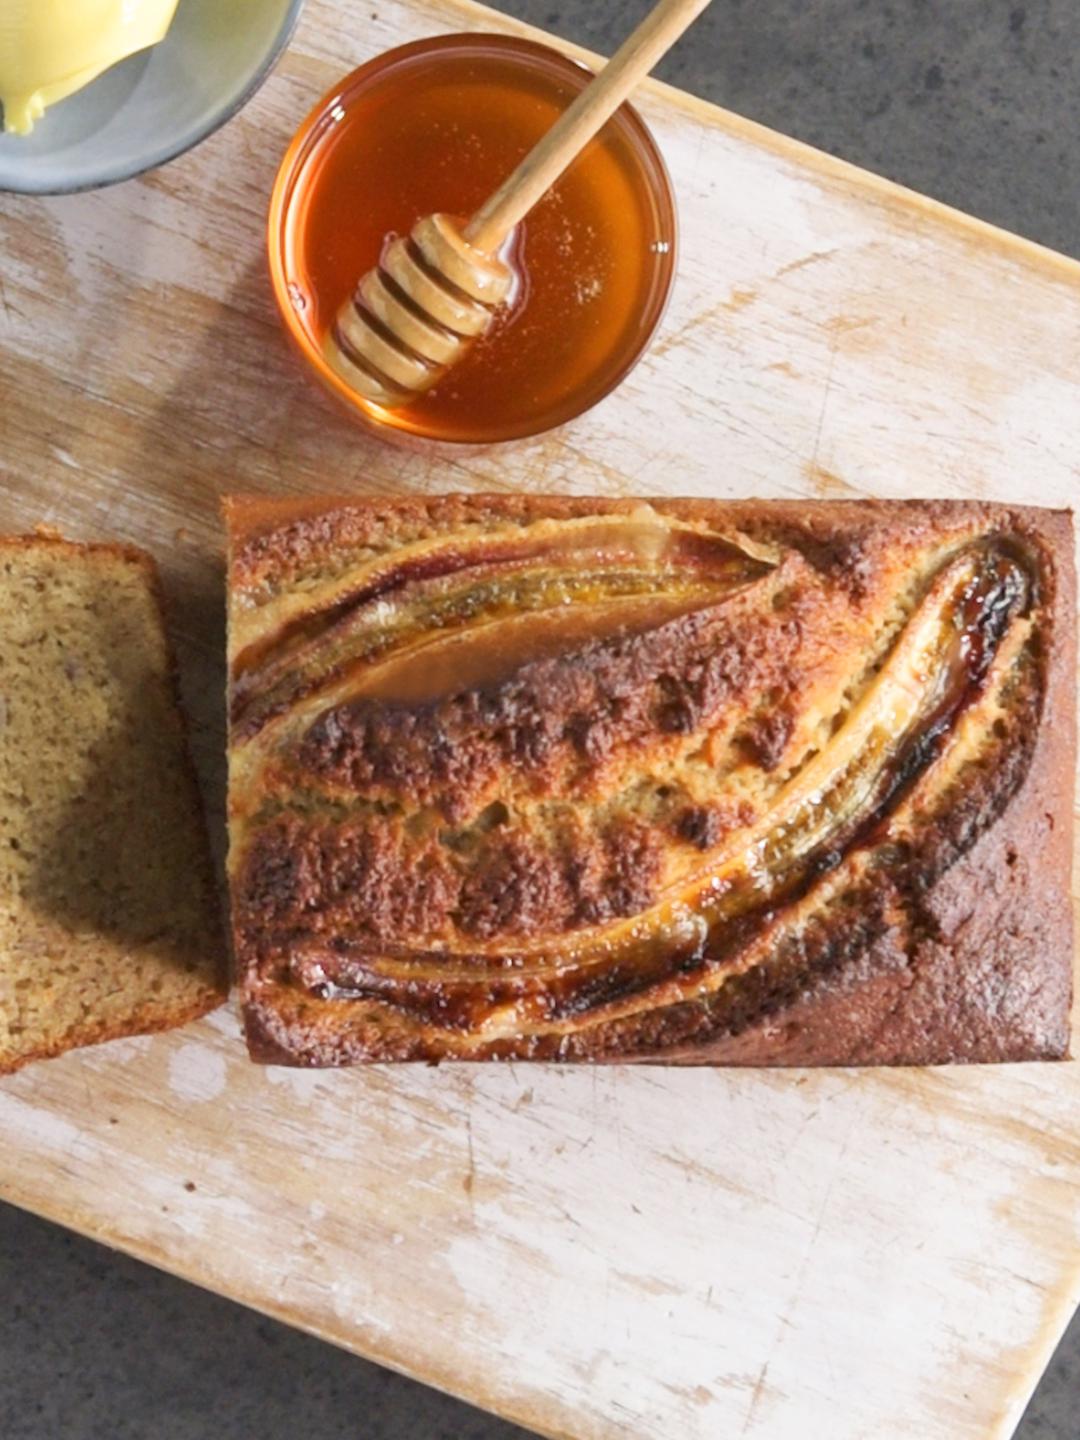
Banana Bread
- Ovens & Air Fryers
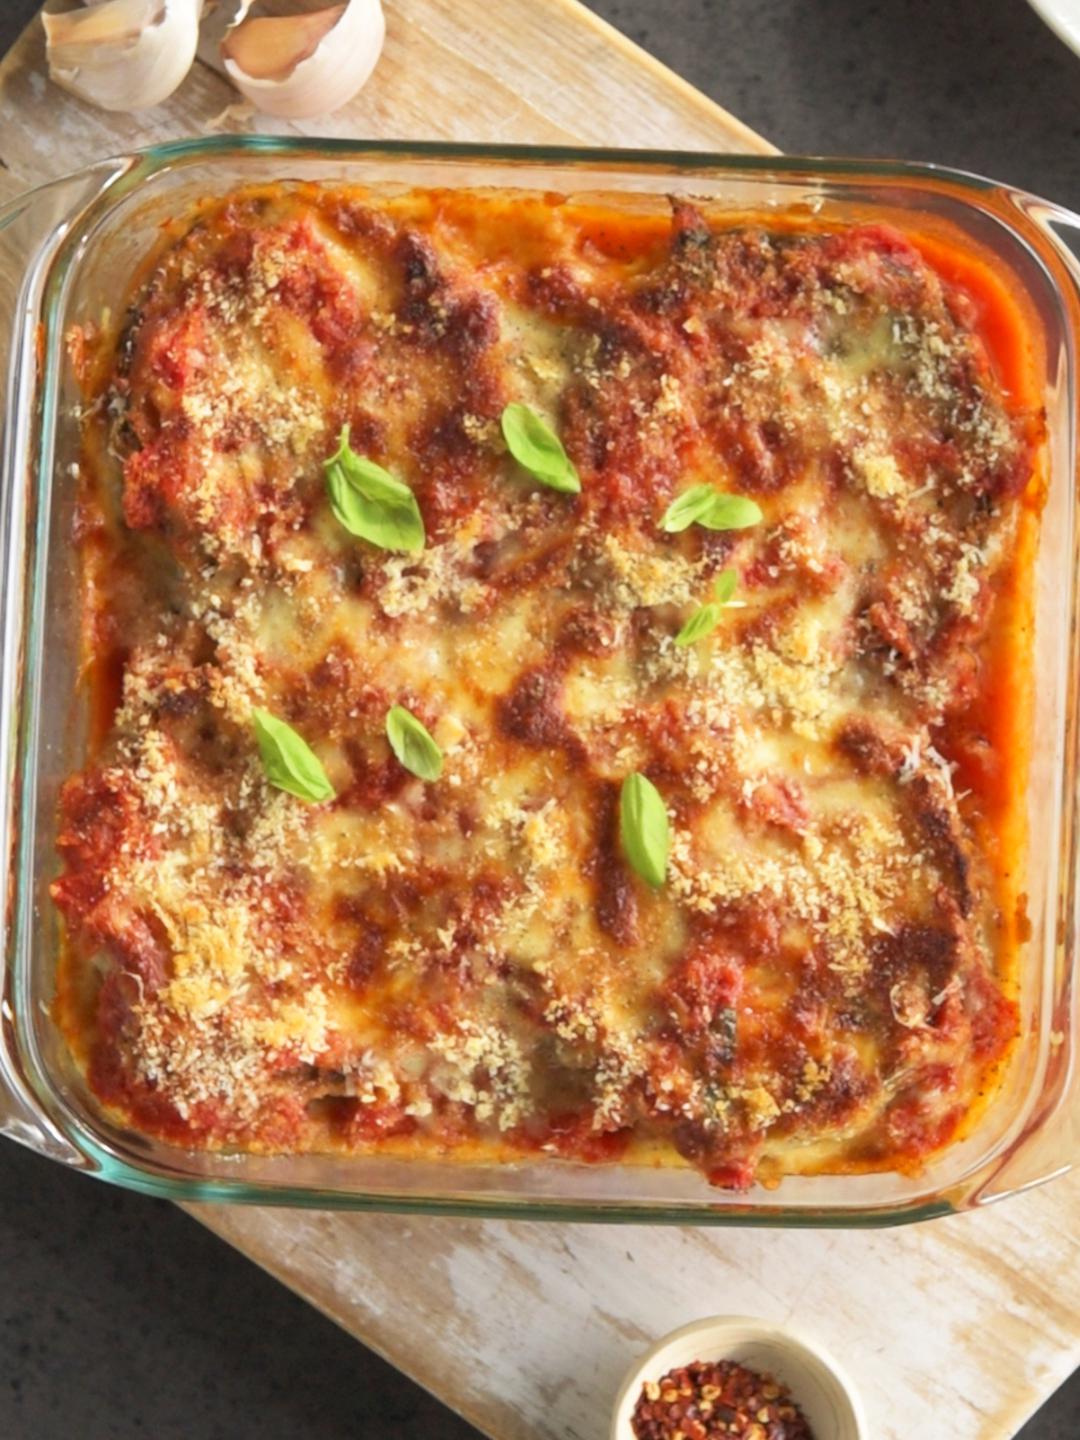
Eggplant-Parmesan
- Ovens & Air Fryers
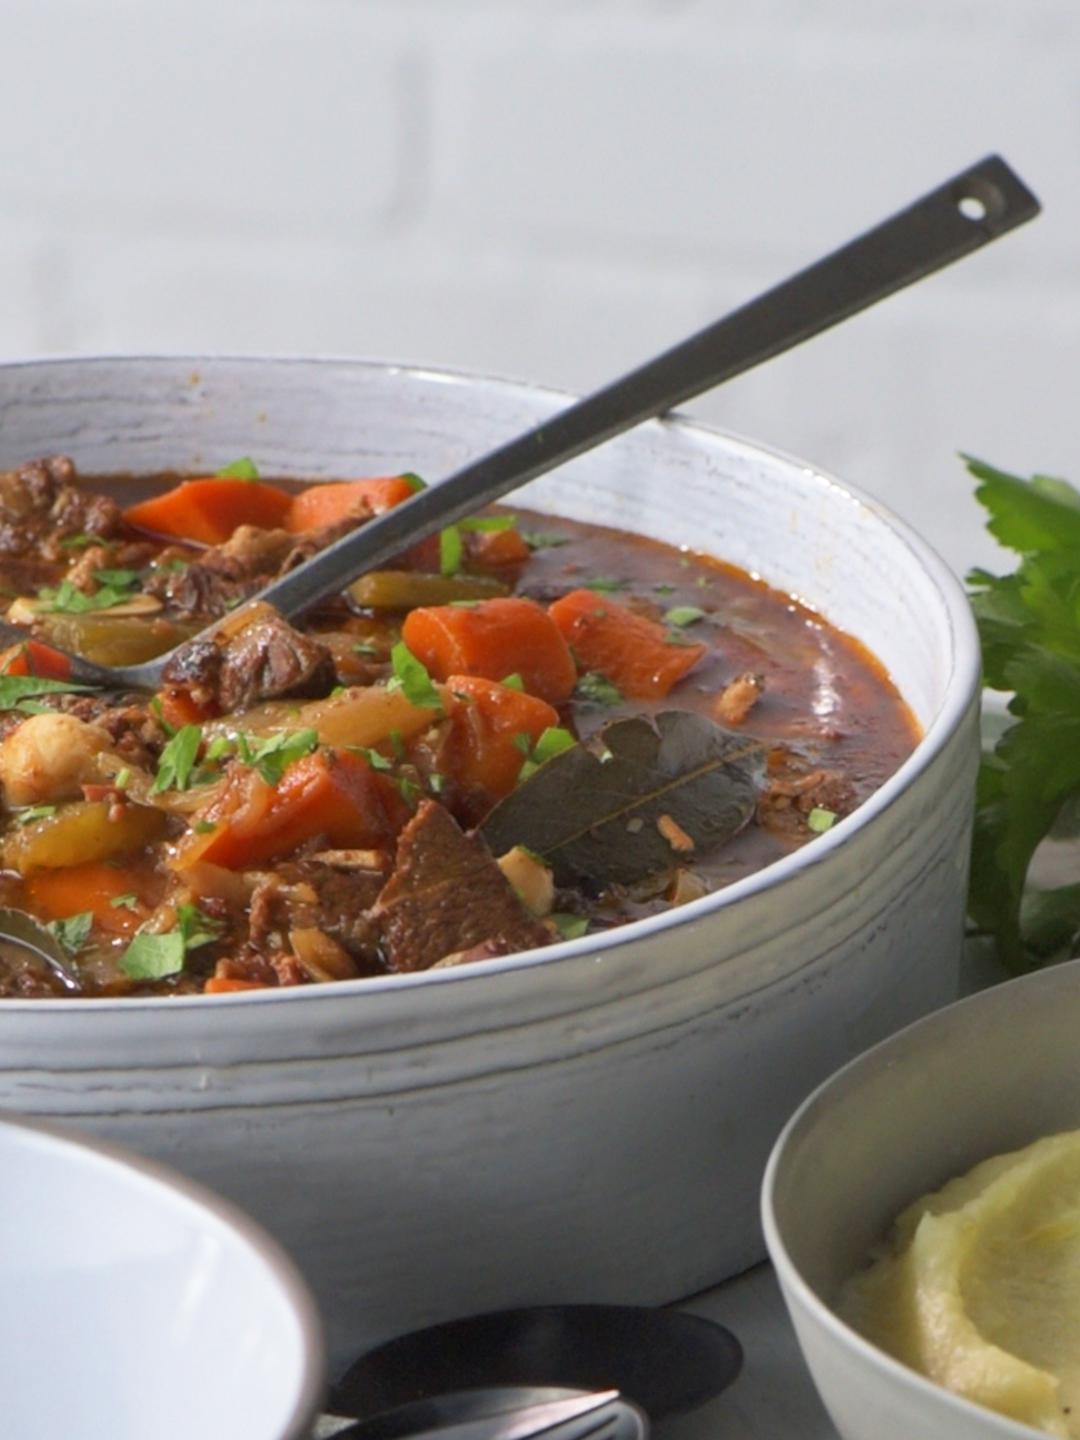
Test Beefy Stew
- Ovens & Air Fryers
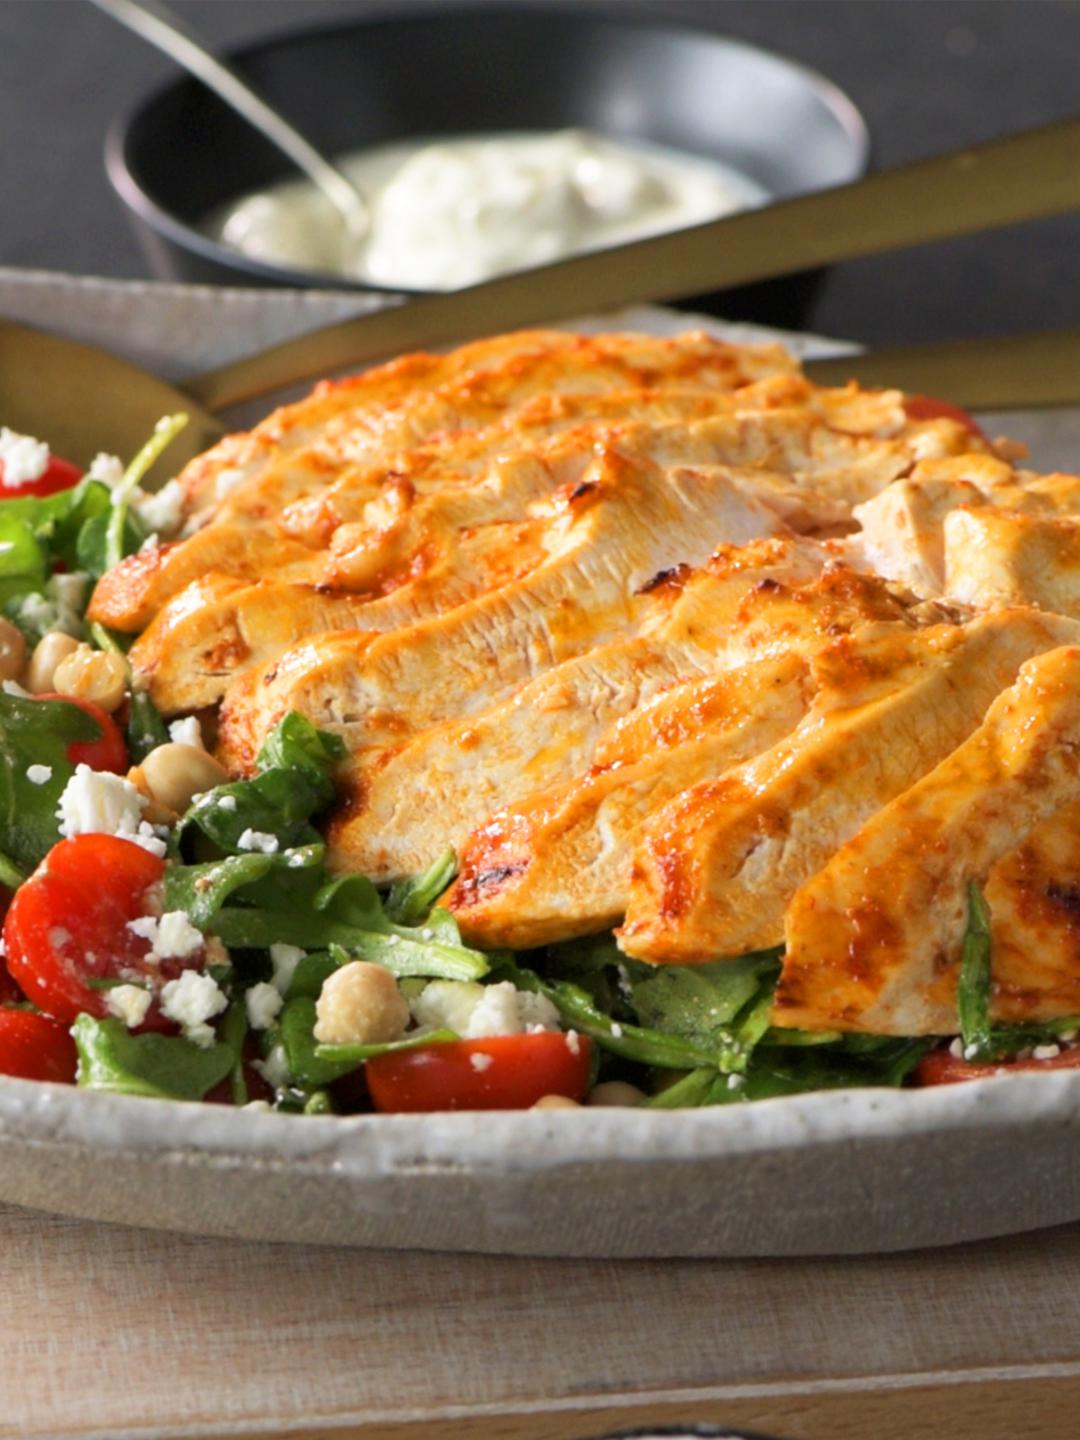
Harissa Chicken Salad
- Ovens & Air Fryers
Sous Vide Korean Chicken
- Ovens & Air Fryers
Vanilla Butter Cake
- Ovens & Air Fryers
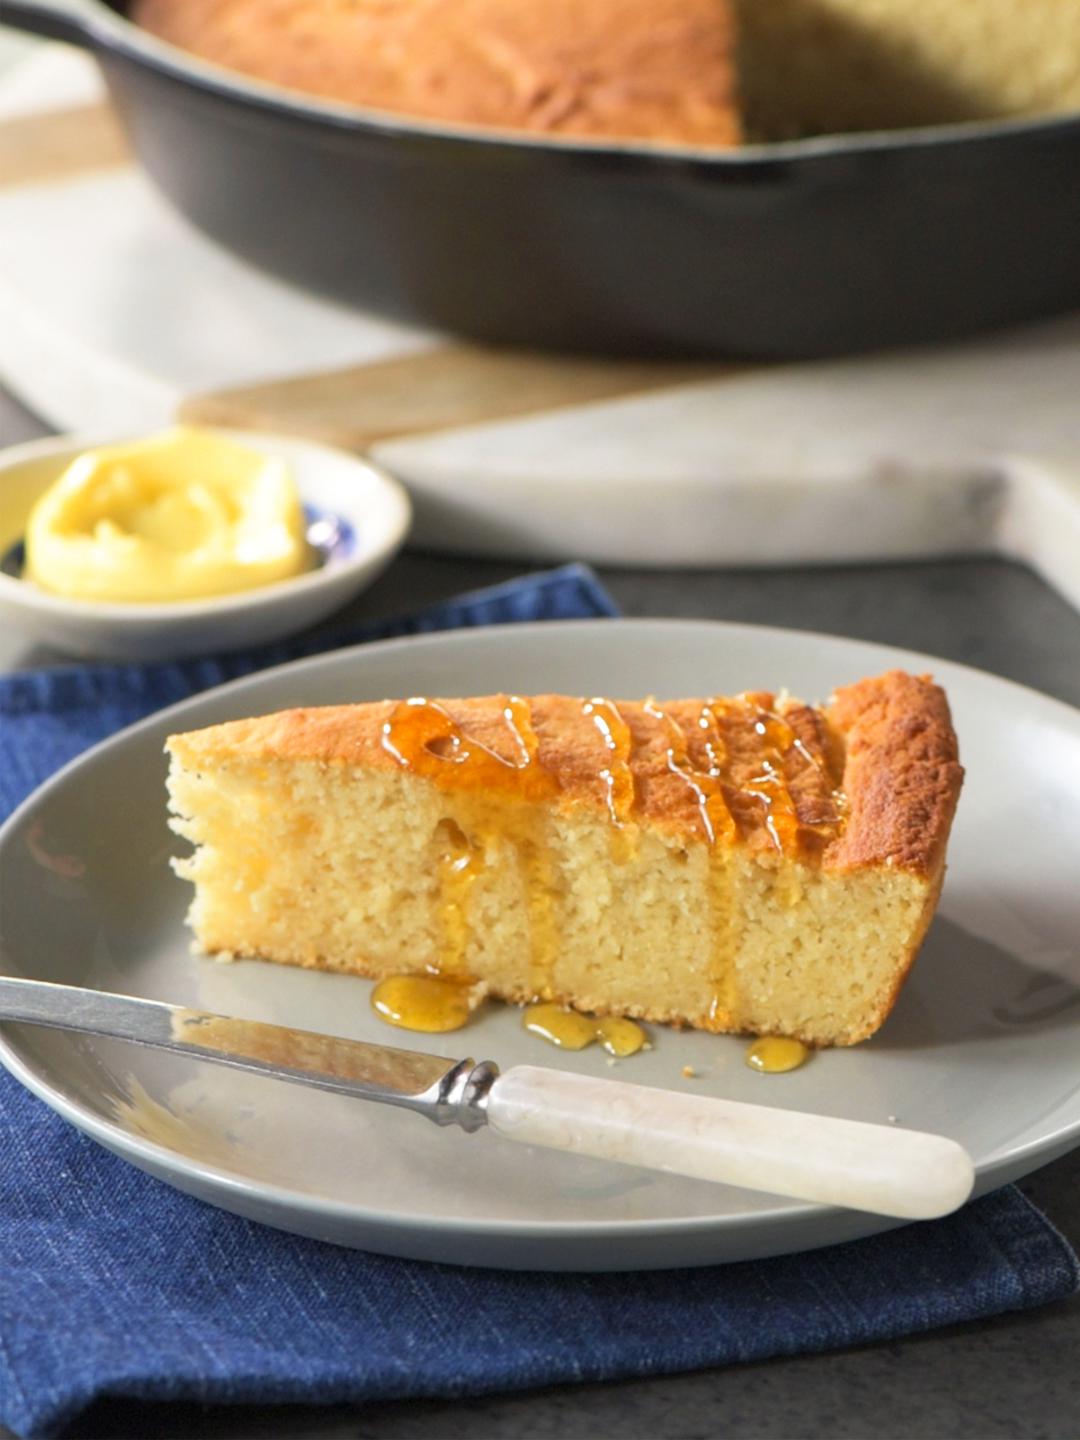
Brown Butter Skillet Cornbread
- Ovens & Air Fryers
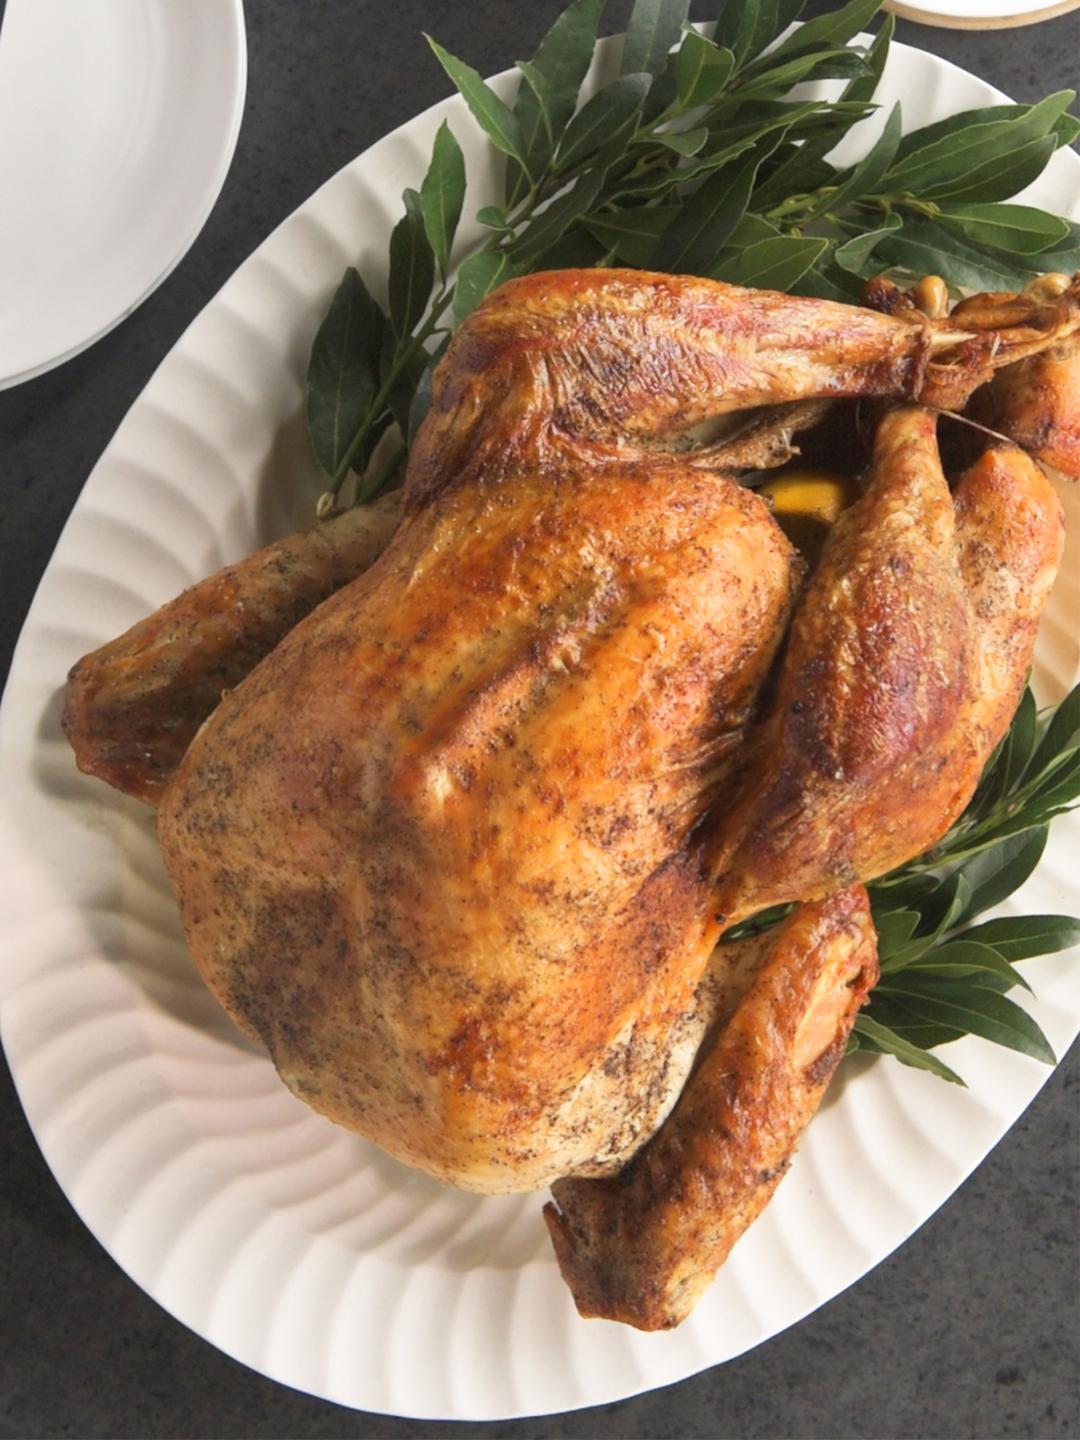
Roast Turkey
- Ovens & Air Fryers
Pear and Vanilla Cake
- Ovens & Air Fryers
Chicken Sheet Pan Dinner
- Ovens & Air Fryers
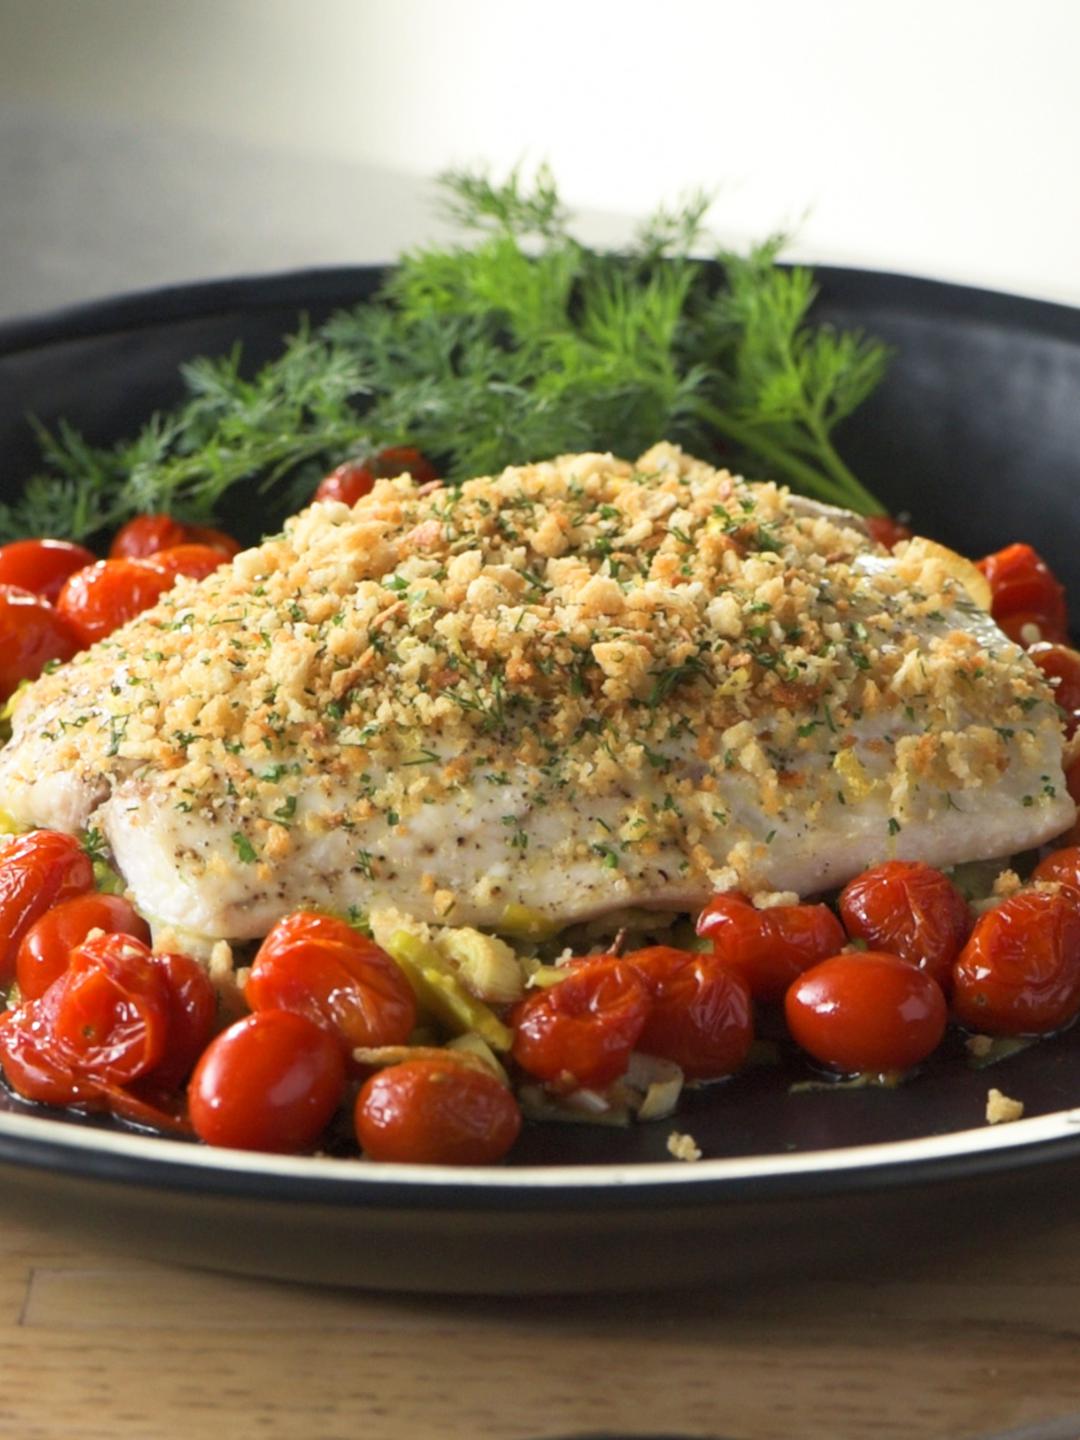
Cod with Leeks
- Ovens & Air Fryers
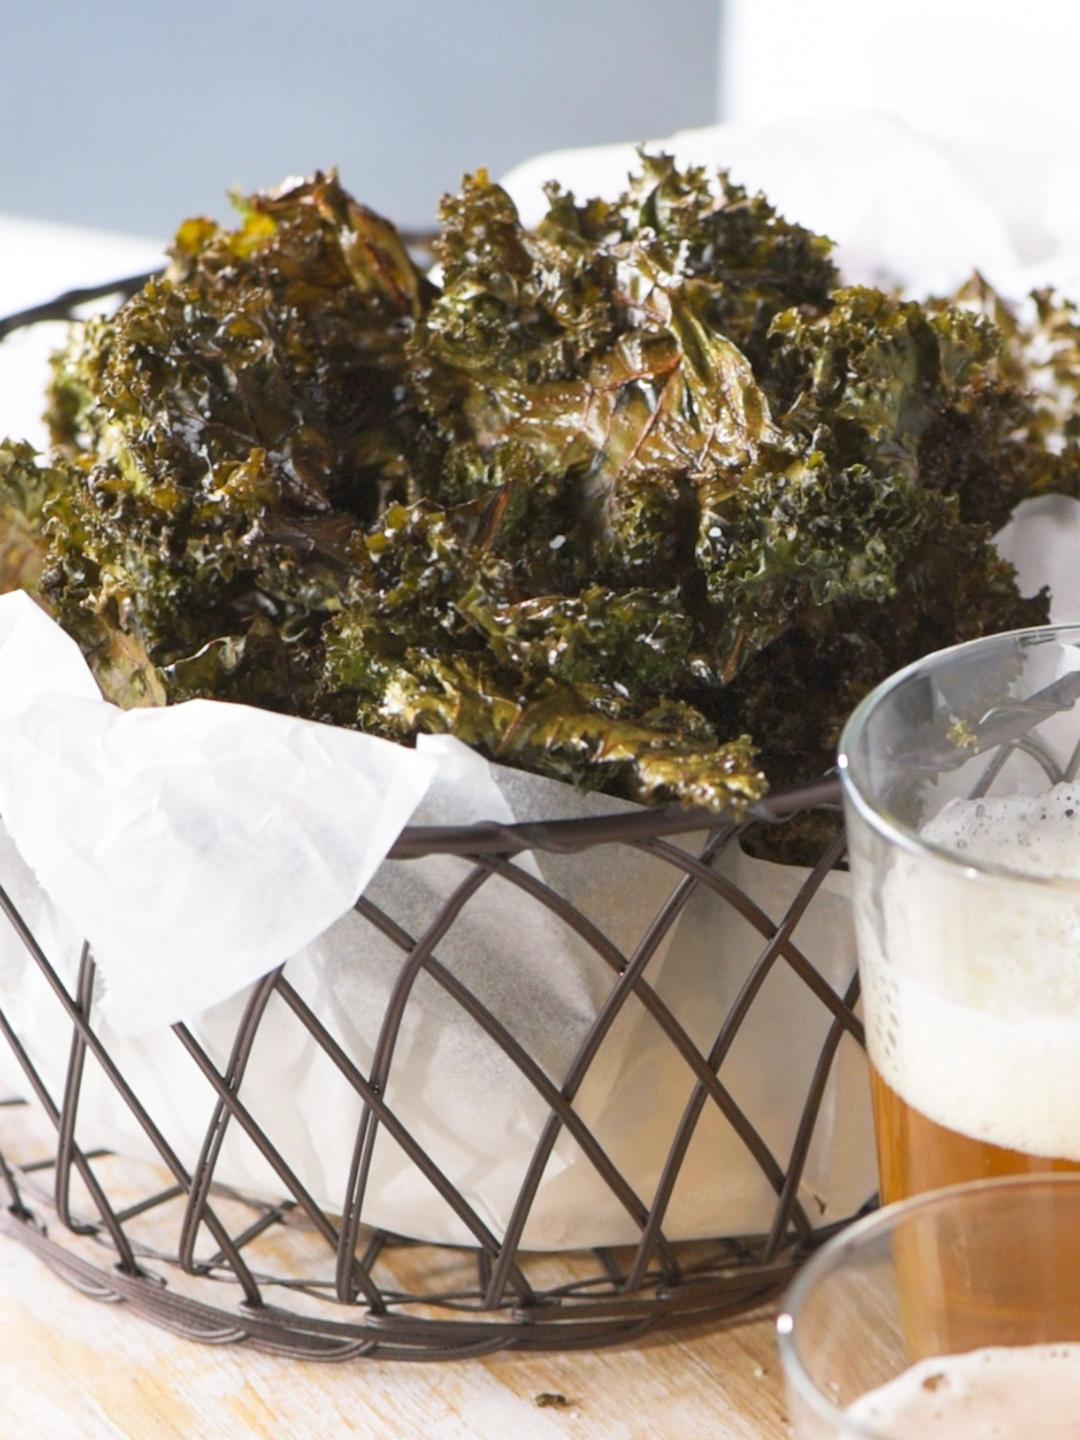
Salt and Vinegar Kale Chips
- Ovens & Air Fryers
RSV-V1
- Ovens & Air Fryers
BOV950 Priming Cycle.
- Ovens & Air Fryers
Ghee cake demo - title en_US
- Ovens & Air Fryers
Chicken Satay
- Ovens & Air Fryers
Brussels Sprouts with Pomegranate
- Ovens & Air Fryers
Dev - Simple and Delicious S'mores
- Ovens & Air Fryers
Cheese Thin & Crispy Pizza
- Ovens & Air Fryers
Triple Chocolate Brownies